 |
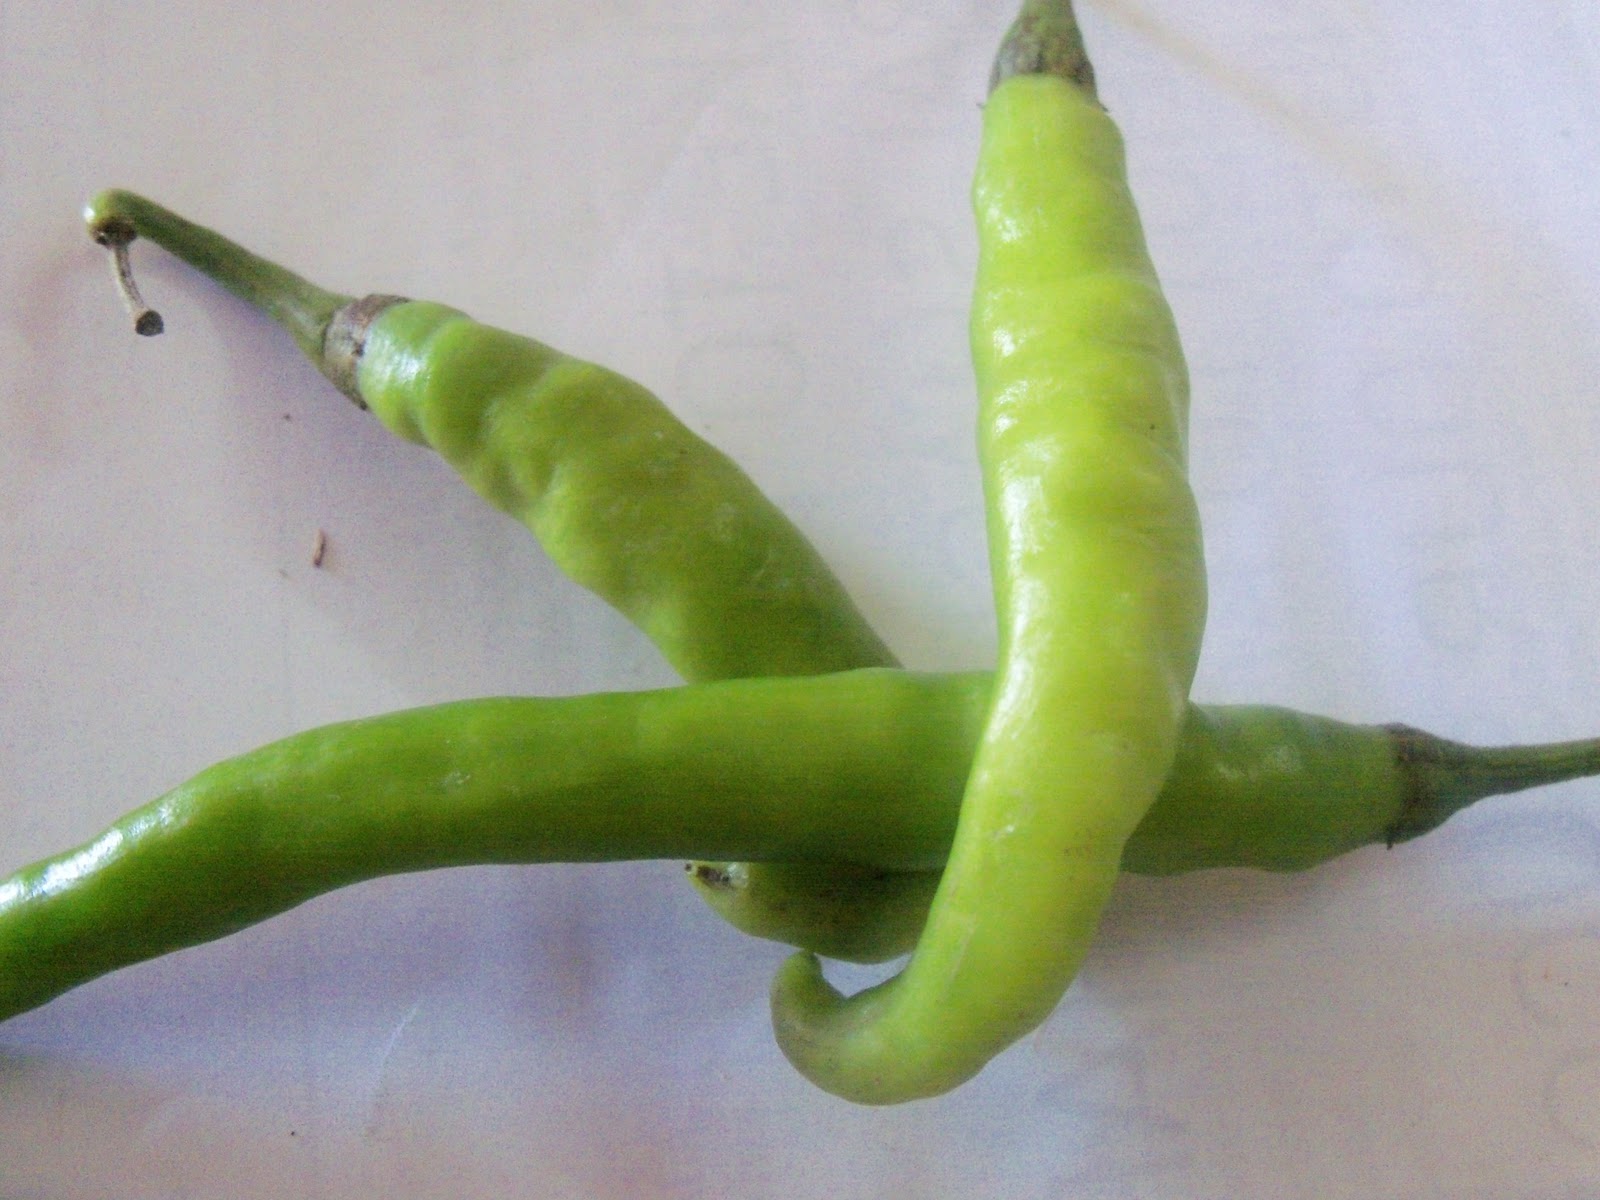
| Green Chillies |
Friday, December 17, 2010
Green Chillies or Hari Mirch
For a quick Indian dish, green chili comes extremely handy for adding a zing in the dish or simply to give it a fresh look. Green chilies are also known for their Vitamin C content and can be consumed raw.
Coriander - Dhaniya
As dhaniya, coriander is used for garnishing in many dishes, a quick and easy way is to separate the stem from the leaves and stored them in a zippo or air-tight container for later use.
That way you don't have to go through the entire process whenever you need them.
That way you don't have to go through the entire process whenever you need them.
 |
| Coriander leaves |
 |
| Dhaniya |
Long beans or barbatti with aloo
Buy them and cut into 1/2 inch sized pieces. Like this...
 |
| Barbatti |
 |
| Cut them and store in an air-compact bowl n refrigerate |


Monday, December 13, 2010
Hunger Pangs? Quick Fix part1
You are at home...hungry..very hungry! Apart from basic ingredients, there is almost nothing to eat. What do you do?
Sandwich with Bhujia
Get hold of two bread slices and fry them with butter to make them crispy.
Open a pack of bhujia and take out a handful as a filling for the bread slices.
Twist open a ketchup bottle or pack and drench the bread slices with the ketchup one side.
Slice one half of onion in thin slices and place them on top.
Sprinkle salt and lastly bhujia just before consuming the bread slice.
Not only it will taste good, it will also be a good filler for the stomach. Go try it once on one of those days!
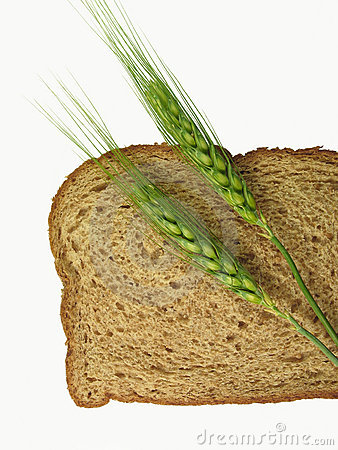 |
| Bread Slice |
Get hold of two bread slices and fry them with butter to make them crispy.
Open a pack of bhujia and take out a handful as a filling for the bread slices.
Twist open a ketchup bottle or pack and drench the bread slices with the ketchup one side.
Slice one half of onion in thin slices and place them on top.
Sprinkle salt and lastly bhujia just before consuming the bread slice.
Not only it will taste good, it will also be a good filler for the stomach. Go try it once on one of those days!
Saturday, December 11, 2010


Bhindi with Sweet Corn
Lady Finger also known as 'Bhindi', in Hindi is a handy vegetable to prepare that is equally nutritious. Bhindi can be deep fried, cooked with potato, steamed...you get the picture. This time, I have tried a combination of Bhindi with American Sweet Corn, a popular edible in Central and Western India.
I have tried to use some of the basic ingredients found in an Indian kitchen, so that one doesn't have to trek down to a general store just to make this simple dish.
Here are the ingredients:
- 250 gms bhindi (lady fingers) cut horizontally into half an inch size pieces
- a small bowl of boiled American Sweet Corn
- one medium-sized onion julienned
- 1/2 tsp nigella seeds
- 1/2 tsp black mustard seeds
- 1/2 tsp fenugreek seeds
- 1/2 tsp fennel seeds
- 1/2 tsp cumin seeds
- 3/4 tsp salt
- 1tbsp oil
- a pinch of sugar
- 1 green chili sliced length-wise into half
 |
| Bhindi with Sweet Corn |
Preparation:
1) Heat a wok with one tablespoon oil.
2) When the oil get hot, add in sugar and the spices except the green chili
3) After a minute and a half, add the onion and stir
4) When onions start to get transparent add the bhindi and salt
 |
| Bhindi and Sweet Corn |
5) Stir adequately and close the lid for sometime
6) Keep checking in between so that the food doesn't stick to the bottom
7) When bhindi or lady fingers pieces start to get soft, add in the sweet corn seeds
8) Stir well, and turn off the gas. Keep the lid closed for sometime.
9) After a few minutes, open the lid and serve it hot with chapatti
Friday, December 3, 2010
Prawns with Carrot Hot and Sweet Style

Prawns are considered as fish, but they are without any fins or scales. In fact prawns are protected in their shells and are without any bones. Prawns, have a juicy texture and are very popular among seafood preparations. They are also convenient as they get cooked quickly and taste delicious.
Since, the frozen shelled prawns are so easy to stir up a dish, I thought of giving a new twist to the well-known Hot and Sour Prawns.
Ingredients:
250 gms Frozen shelled prawns
1 tsp Ginger paste
1 tsp Garlic paste
1 tsp Vinegar
1 tsp Soya Sauce
1-2 tsp Hot and Sweet tomato sauce
1tsp Red Chili powder
! Carrot chopped and sliced
1 Capsicum chopped in squares
1-2 Onion(s) chopped in squares
1 Green Chili
1 Tomato chopped
11/2 tsp Salt
1 tsp Sugar
1-2 tsp Vegetable oil
To Start with:
1. Take out the prawn package from the freezer and let it thaw for a couple of hours.
2. Marinate the prawns for an hour with vinegar, red chili, pinch of salt, 1/2 tsp ginger and garlic pastes.
Then comes the cooking:

3. Heat a wok or non stick pan with oil.
4. Add in chopped onion and stir.
5. When the onions begin to get transparent, add in carrot, slit green chilies, capsicum slices and the remaining ginger-garlic paste.
6. After little stirring, squeeze and drop the prawns into the wok.
7. Close the lid for five or six minutes.
8. The prawns tend to curl when they are cooked, so check in intervals, to add in chili powder, tomato pieces, salt, sugar and stir thoroughly.
9. Pour in the remaining marinated prawn water into the vessel and close the lid for a steaming effect for 10- 15 mins.
10. Serve hot with steamed rice.
Monday, November 29, 2010
Aloo Gobhi - Potato and Cauliflower


Aloo Gobhi, is one of the most common place recipes that one finds on their plates very frequently, when at home. To those, who are far away and want to revisit the flavors of home, here is a quick and easy recipe that takes less than twenty minutes tops!

Ingredients to dump in:
- 2 cups of washed and diced potatoes
- 2 cups of cauliflower cut into small florets
- 1/2 teaspoon oil
- 1 green chili
- Few coriander leaves for garnishing
- 1-2 drops of fresh lemon juice for garnishing
Spices:
- 1/4 tsp jeera
- 1/4 tsp methi seeds
- 1/4 tsp ajwain
- 1/4 tsp saunf
- 1/4 tsp black mustard seeds
- 1/2 tsp salt (that is the minimum, try tasting as suggested in first post)
How to prepare:
1) Start with a dry wok and place it on the burner.
2) Pour in vegetable oil. It can be peanut, soy or sunflower oil.
3) Add in the spices and chili when the oil gets adequately heated up.
4) When the spices start sputtering, pour in the cauliflower and potatoes slices.
5) Mix well and cover it with its lid.

6) Keep checking after every 30 secs and turn or mix if you feel that the bottom is getting burnt.
7) After 5 mins add in salt and haldi or turmeric and stir well.
8) Continue checking and stirring in intervals for another 5 -7 mins.
9) Poke the potatoes and check if they easily break or not.
10) After the potatoes get cooked turn off the gas and cover it with the lid.
11) For serving garnish it with the coriander leaves and few drops of lemon juice.
You can serve it with roti, flat bread, chapati or with khichdi.
The Queen of Khichdi - Monsoor Khichdi

Most of Indian homemakers, not necessarily wives ;) are a huge fan of this recipe. Monsoor khichdi is a hassle-free and easy to prepare recipe that is favored even by the most critical judges - the kids!
Quite naturally, in every household, there is a unique version of this sumptuous and filling main course. Here is mine:
Begin with the ingredients:
- 1 cup rice (can opt for dhubar rice) rinsed
- 1 cup monsoor dal rinsed and soaked for 15 mins
- 1 slit green chili
- 1/4 tsp garam masala
- 1/4 tsp red chilli powder
- 1 teaspoon salt
- 2/3 teaspoon sugar
- 1/4 teaspoon haldi or turmeric
- 1 tsp ghee or clarified butter
- 4 cups water
How it was prepared:
1) Using a pressure cooker, pour 4 cups of water (twice that of rice and monsoor dal) and bring it to boil.
2) Pour in the quantified rice and monsoor dal and stir a bit.
3) Now quickly add in ghee. salt, green chilly, red chili powder, haldi and garam masala powder.
4) You can also add in tej patta or bay leaf for that distinct flavor.
5) Cover the pressure cooker with a lid and turn the gas knob into high mode.
6) Wait for the first whistle and turn the knob to minimum for another ten minutes.
7) You can turn off the gas after the second whistle, or if you like khichdi in a thick form, let it whistle for the third time before turning it off.

After turning it off, let the vessel cool in for another five mins and turn the lid to open. You can serve it with any vegetable dish, omelet or with garlic pickles. Enjoy it steaming hot...
Saturday, November 27, 2010
Chicken Keema with Soya Sauce and Chillies

Chicken has always been my favorite and the keema form , that is, the minced chicken is a hassle-free one when it comes to churning out quick dishes.
This recipe requires some chopping, slicing and dicing of the vegetables like carrot, tomato, capsicum and onion. You will need a heavy-bottomed non stick pan or a wok to fry in.
The preparation is pretty simple. Chop veggies, fry them, pour in the keema, add in spices, stir fry some more and you are done in as little as 30 mins.
You will need vegetables like:
Onion
Capsicum
Carrot
Beans (if you want to add in)
Spices:
 6 Garlic cloves for 250gm keema
3 Green chilles slit from the middle
Half teaspoon Vinegar
Half teaspoon Soya Sauce
Half teaspoon Sugar
1 teaspoon Salt
Half teaspoons Tomato sauce (if required)
And of course:
500gm Chicken keema or minced meat.
You can start with:
1. Chop the vegetables in squares.
2. Slice 2 onions thinly
3. Dice garlic cloves
4. Wash and clean keema by rinsing it with water once or twice.
Now you are ready with the ingredients for cooking.
5. Heat up the wok or pan and ensure it is dry.
6. Pour as little as half teaspoon of vegetable oil and leave it for 1 minute to heat and sputter.
7. Slowly add the sliced onions into the heated pan.
8. Follow it up with other vegetables except the tomatoes and garlic.
9. Stir and leave alternately so that the veggies are fried uniformly.
10. Add in the diced garlic cloves and stir to mix.
11. When the onions get transparent and other veggies are a little soft, add in the keema for frying.
11. Stir and mix slowly and take care not to spill the ingredients out of the wok.
12. When the minced chicken or keema starts to turn little brown, add in few drops of vinegar and mix well. This is done to get rid of the smell of raw meat.
13. After a couple of minutes, add in half teaspoon of soya sauce, half teaspoon red chilli powder, sliced green chillies and chopped tomatoes.
14. Also add 1 teaspoon salt and half teaspoon sugar and stir vigorously to mix well.
15. Allow it to get cooked and for the flavors to be soaked in by covering the wok with a lid for 5 mins.
16. Take a teaspoon and try the taste of the dish. If its too sweet or salty, try adding a bit of water or few drops of lemon to nullify it.
17. Close the lid, turn off the gas and wait for a couple of mins before serving it hot with steamed rice.

Easy Food Preparations
Knowing how to feed oneself is the order of the day. Increasingly, the art of cooking can be the source of survival, a channel to earn fame, way to please your dear ones or simply to stop the hunger pangs.
Thankfully, today the directions to cook have become more simplified and even the 'freshers' can start feeling comfortable around the kitchen pretty soon.
One of the most fun thing about cooking is the experimentation. The knack is to know the flavors that you are familiar with and to use them in different recipes for new tastes. As one can guess, the experiments become more and more successful once you start getting more familiar with cooking. Cooking, is one of the most rewarding ways of experimentation as you get to know the results instantly... "the look on the faces of your guests!"
Another, helpful point for learners is that, the tongue plays an important role in deciding whether the quantity of the ingredients is correct or not. So starting with boiling up a cuppa tea... you should know that 1 teaspoon per person is fine, but 6-7 teaspoon is certainly not...unless you have a sweet tooth.
So read-on folks and get to try some of these very simple recipes in your kitchen.
Do let me know, how it tastes like!
Subscribe to:
Posts (Atom)